In “The Perfect Gravy: From Pan To Plate,” Tastepan presents a comprehensive guide that will turn you into a kitchen pro. Whether you’re a seasoned chef or a cooking novice, this article is your key to unlocking the secrets of creating the perfect gravy. With expert cooking tips and techniques, you’ll learn how to take your gravy from the pan to the plate with confidence and finesse. Get ready to elevate your culinary skills and impress your friends and family with the most flavorful gravy they’ve ever tasted. So grab your apron and let’s get started on this delicious journey together.

Choosing the Right Pan
The importance of using the right pan
When it comes to making delicious gravy, the choice of pan plays a crucial role in ensuring the perfect outcome. The right pan helps in achieving even heat distribution, preventing scorching, and creating the perfect consistency for your gravy. Using the wrong pan can result in uneven cooking, burnt bits, and a less than ideal texture.
Different types of pans for making gravy
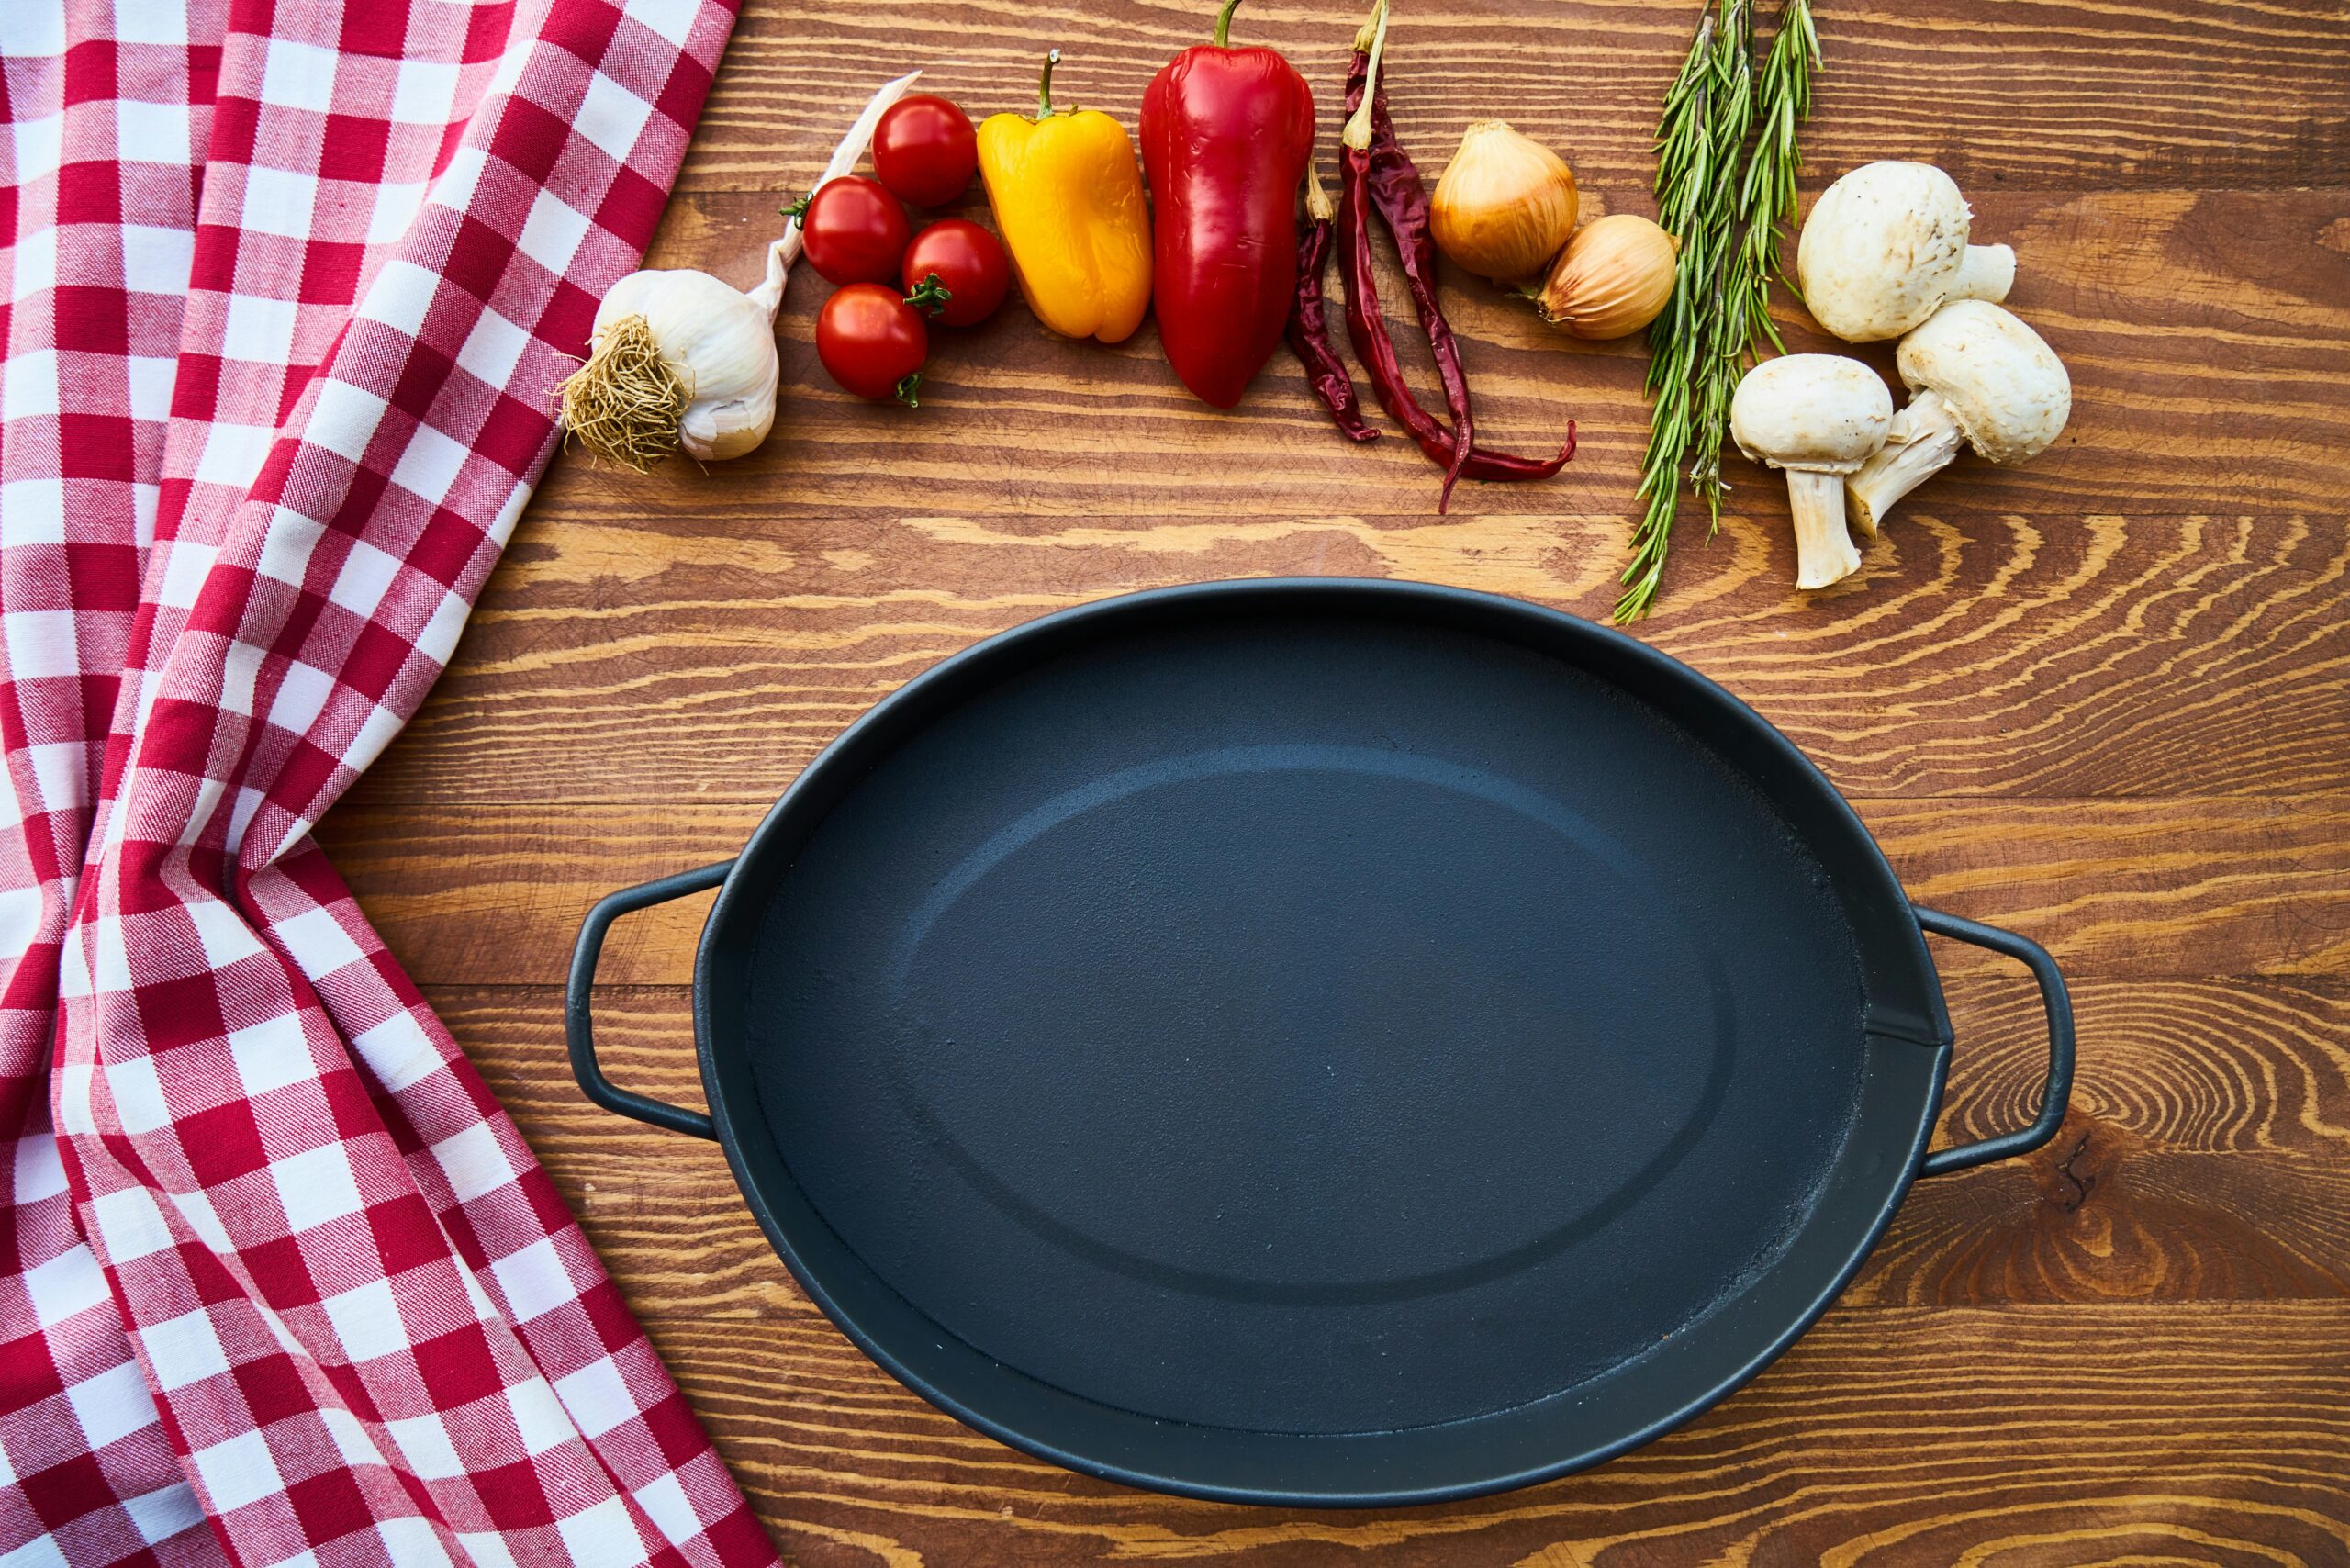
There are various types of pans that you can choose from when making gravy. Each type has its own unique features and benefits. Some popular options include:
-
Stainless Steel Pans: These pans are durable and have excellent heat conductivity, allowing for even cooking. They are versatile and can be used for making a wide range of gravies.
-
Non-Stick Pans: Non-stick pans are ideal for making gravies as they prevent sticking and make it easier to whisk and stir the ingredients without any hassle.
-
Cast Iron Pans: Cast iron pans are known for their excellent heat retention properties. They distribute heat evenly, making them perfect for slow-cooked gravies that require a long simmering time.
Tips for selecting the perfect pan
When selecting a pan for making gravy, there are a few things to keep in mind:
-
Size: Choose a pan that is large enough to accommodate the quantity of gravy you intend to make. This will ensure that you have enough space to incorporate all the ingredients properly.
-
Material: Consider the material of the pan and its heat conductivity. Stainless steel and non-stick pans are popular choices for making gravies due to their ability to distribute heat evenly.
-
Shape: Opt for a pan with high sides and a wide base. This will help in preventing splatters and allow for easy stirring and whisking.
-
Handle: Ensure that the pan has a sturdy handle that provides a comfortable grip. This will make it easier to maneuver and pour the gravy without any spills.
By selecting the right pan for your gravy-making endeavors, you’ll set yourself up for success and create delicious, flavorful gravies every time.
Using Drippings and Fond
What are drippings and fond?
Drippings are the flavorful juices and fats that are released when cooking meat. They are concentrated bursts of flavor that add depth and richness to your gravy. Fond, on the other hand, is the browned bits that are left behind in the pan after searing or roasting meat. Fond is incredibly flavorful and forms the base for a delicious gravy.
Why they are crucial for a flavorful gravy
Drippings and fond are essential elements in creating a rich and flavorful gravy. They contain the essence of the meat you’ve cooked and can elevate the taste of your gravy to new heights. Using drippings and fond ensures that your gravy has a depth of flavor that can’t be achieved with artificial additives or substitutes.
How to collect and prepare drippings and fond
To collect drippings, simply strain the liquid that accumulates in the bottom of the pan after cooking meat. This liquid contains the flavorful juices and fats that will enhance your gravy. Skim off excess fat and set the drippings aside.
To prepare fond, start by deglazing the pan. Add a small amount of liquid, such as broth or wine, to the pan and scrape the browned bits from the bottom with a wooden spoon or spatula. The liquid will dissolve the fond and create a flavorful base for your gravy.
Once you have collected the drippings and prepared the fond, you’re ready to move on to the next step in creating the perfect gravy.

Creating the Roux
What is a roux and why it is essential for gravy
A roux is a mixture of fat (such as butter or drippings) and flour that serves as a thickening agent for gravies. It provides a smooth, velvety texture and helps bind the flavors together. A well-made roux is the backbone of any great gravy.
Different types of roux
There are different types of roux, each offering its own unique characteristics. The three main types are:
-
White Roux: This is the most common type of roux used for gravies. It is made by cooking equal parts of fat and flour until the mixture is pale and lightly toasted. White roux provides a neutral base for gravies, allowing the flavors of other ingredients to shine.
-
Blond Roux: Blond roux is cooked slightly longer than white roux, resulting in a slightly darker color and nuttier flavor. It adds a subtle richness to gravies without overpowering the other ingredients.
-
Brown Roux: Brown roux is cooked until it reaches a deep brown color. It has a more pronounced flavor and adds depth and complexity to gravies. Brown roux is commonly used in darker gravies, such as beef or mushroom gravy.
Step-by-step guide to making the perfect roux
-
Heat the fat (butter or drippings) in a pan over medium heat until it melts and starts to shimmer.
-
Add the flour gradually, whisking constantly to ensure a smooth mixture.
-
Continue cooking the roux, stirring constantly, until it reaches the desired color (white, blond, or brown).
-
Once the roux is cooked to your liking, remove it from the heat and set it aside. It’s now ready to thicken your gravy and infuse it with a velvety texture.
Creating a roux is an art that requires practice and patience. With time, you’ll develop a knack for making roux and achieve the perfect consistency for your gravies.
Slowly Incorporating Liquid
The importance of slowly adding liquid to the roux
When incorporating liquid into your roux, it’s important to do so gradually to avoid lumps and achieve a smooth consistency. Adding the liquid too quickly can result in a clumpy, uneven gravy that lacks the desired texture.
The role of broth, stock, or wine in gravy
The choice of liquid plays a significant role in the flavor profile of your gravy. Broth, stock, or wine are commonly used liquids that add depth and complexity to gravies. Broth and stock provide a savory base, while wine adds acidity and richness.
When selecting your liquid, consider the type of gravy you’re making and choose a liquid that complements the flavors. For example, beef broth is ideal for beef gravy, while chicken stock works well for poultry gravies. Wine can be used to enhance the flavors of a variety of gravies, adding a touch of sophistication.
Pro tips for incorporating the liquid
To incorporate the liquid smoothly into your roux, follow these tips:
-
Use warm or room temperature liquid: Cold liquid can cause clumping, so it’s best to use warm or room temperature liquid when whisking it into the roux.
-
Gradually add the liquid: Pour a small amount of liquid into the roux and whisk it until fully incorporated before adding more. This gradual process ensures a smooth texture.
-
Whisk constantly: Whisking constantly helps break up any lumps and ensures that the liquid is evenly distributed throughout the roux.
By slowly incorporating the liquid into your roux, you’ll create a silky-smooth gravy that is sure to impress.

Managing Heat and Consistency
Maintaining the right heat level for perfect gravy
When making gravy, it’s important to manage the heat to ensure optimal results. Proper heat management prevents scorching and allows the flavors to develop fully.
Start by cooking the roux over medium heat, stirring constantly to prevent burning. Once the liquid is added, reduce the heat to low or simmer. This gentle heat allows the flavors to meld together and the gravy to thicken gradually.
How to adjust the consistency of your gravy
Gravy consistency is a matter of personal preference. Some prefer a thick, hearty gravy, while others enjoy a thinner, more pourable consistency. If your gravy is too thick, you can thin it out by adding small amounts of liquid (broth, stock, or even water) until it reaches the desired consistency. On the other hand, if your gravy is too thin, you can thicken it further by whisking in a slurry made of equal parts flour and water or cornstarch and water.
Remember to add the thickening agents gradually to avoid over-thickening your gravy. It’s easier to add more than to undo an overly thickened sauce.
Avoiding lumps and achieving smoothness
Lumps can be a common concern when making gravy, but with the right techniques, they can easily be avoided. Here are a few tips for achieving a smooth, lump-free gravy:
-
Slowly whisk the liquid into the roux, ensuring that it is fully incorporated before adding more. This gradual process helps prevent clumping.
-
Use a whisk or immersion blender to break up any lumps that do form. The continuous stirring and blending motion will help smooth out the gravy.
-
Strain the gravy through a fine-mesh sieve if there are still lumps present. This will remove any remaining clumps and give your gravy a velvety smooth texture.
By managing the heat, adjusting the consistency to your liking, and employing techniques to eliminate lumps, you’ll achieve a flawless, smooth gravy.
Seasoning and Flavoring
The key seasonings for delicious gravy
Seasoning is what elevates a good gravy to a great one. The right combination of spices and herbs can enhance the flavors, add depth, and create a well-rounded taste profile. Key seasonings for delicious gravy include:
-
Salt and Pepper: Start with a pinch of salt and freshly ground black pepper to enhance the overall flavor of the gravy.
-
Aromatics: Onions, garlic, and herbs like thyme and rosemary can infuse the gravy with additional layers of flavor.
-
Worcestershire Sauce: A few dashes of Worcestershire sauce can add a savory, umami-rich element to your gravy.
Tips for enhancing the flavor of your gravy
To take your gravy to the next level, consider the following tips for flavor enhancement:
-
Use quality ingredients: Fresh herbs, high-quality stock or broth, and flavorful drippings can make a significant difference in the taste of your gravy.
-
Incorporate pan juices: If you’re making gravy from roasted meats, don’t forget to incorporate the pan juices for added depth and richness.
-
Add a touch of sweetness: Balancing the savory flavors with a hint of sweetness can enhance the overall taste. Consider adding a splash of apple cider or a teaspoon of honey.
Avoiding common seasoning mistakes
While seasoning is essential, it’s crucial to avoid common mistakes that can overpower or ruin the flavors of your gravy:
-
Adding too much salt: Remember, you can always add more salt, but you can’t take it out. Start with a small amount and adjust as needed.
-
Overdoing it with strong spices: Strong spices like cloves, nutmeg, or cayenne should be used sparingly. A little goes a long way in adding complexity, so use them with caution.
-
Forgetting to taste: Taste your gravy as you go and make adjustments accordingly. This will help you achieve the perfect balance of flavors.
By carefully selecting and combining seasonings, you’ll create a gravy that tantalizes the taste buds and leaves everyone craving more.
Straining and Serving
Why straining your gravy is important
Straining your gravy is an important step that ensures a smooth, velvety texture. It removes any unwanted lumps, bits of herbs, or other impurities, resulting in a refined final product.
Different methods for straining
There are several methods you can use to strain your gravy:
-
Fine-Mesh Sieve: The most common method is to pour the gravy through a fine-mesh sieve, which catches any solids while allowing the smooth liquid to pass through.
-
Cheesecloth: If you desire an ultra-smooth texture, you can line a sieve with cheesecloth and strain the gravy through it. This method removes even the tiniest particles, resulting in an exceptionally smooth gravy.
-
Fat Separator: If your gravy has a significant amount of fat floating on top, you can use a fat separator. This tool allows you to pour the gravy from the bottom while leaving the fat behind.
Garnishing and serving suggestions
Once your gravy is strained and ready to serve, consider these garnishing and serving suggestions to take your dish to the next level:
-
Fresh Herbs: Sprinkle some freshly chopped herbs, such as parsley or chives, on top of your gravy. This adds a pop of color and freshness.
-
Cracked Black Pepper: A touch of cracked black pepper on the surface of your gravy not only adds flavor but also provides visual appeal.
-
Roasted Garlic: Roasted garlic cloves can be served alongside your gravy. Their sweet and mellow flavor complements the richness of the gravy.
Feel free to get creative with your garnishes and serving suggestions to make your gravy a standout addition to any meal.
Making Gravy Variations
Exploring different types of gravies
Gravy is a versatile condiment that can be customized to suit various dishes. Here are some popular gravy variations worth exploring:
-
Beef Gravy: Made using beef drippings and a rich stock, beef gravy is the perfect accompaniment to roasts, steaks, or meatloaf.
-
Chicken Gravy: Often made with the pan drippings from roasted chicken, this savory gravy pairs well with mashed potatoes or roasted poultry.
-
Mushroom Gravy: Mushroom gravy is a delicious vegetarian option made with sautéed mushrooms and vegetable stock. It adds a meaty, umami flavor to vegetarian meals.
Vegetarian and vegan alternatives
For those who follow a vegetarian or vegan diet, there are plenty of delicious alternatives to traditional meat-based gravies:
-
Vegetable Gravy: Made by simmering vegetables such as carrots, onions, and celery in vegetable broth, this gravy is bursting with fresh, natural flavors.
-
Mushroom and Onion Gravy: Combining sautéed mushrooms, caramelized onions, and vegetable broth creates a flavorful vegetarian gravy that pairs well with a variety of dishes.
-
Nut-Based Gravy: Using roasted nuts, such as cashews or almonds, as a base, you can create a rich and creamy gravy that mimics the texture and flavor of traditional gravies.
Creative ways to customize your gravy
Get creative in the kitchen and experiment with different ingredients and flavor combinations to customize your gravy:
-
Red Wine Gravy: Add depth and richness to your gravy by incorporating red wine during the cooking process. It pairs excellently with red meat dishes.
-
Herb-infused Gravy: Enhance the flavor profile of your gravy by adding fresh or dried herbs, such as sage, thyme, or rosemary, during the cooking process.
-
Spicy Gravy: If you enjoy a bit of heat, consider adding hot sauce, crushed red pepper flakes, or a dash of cayenne pepper to your gravy for a spicy kick.
Customizing your gravy allows you to create unique flavor combinations that suit your personal preferences and adds a touch of creativity to your meals.
Troubleshooting Tips
Common gravy-making problems and solutions
Gravy-making can sometimes come with its fair share of challenges. Here are some common problems you may encounter and their solutions:
-
Lumpy Gravy: If your gravy ends up with lumps, use a whisk or immersion blender to smooth it out. Alternatively, strain the gravy through a fine-mesh sieve.
-
Runny Gravy: To thicken a runny gravy, combine equal parts flour or cornstarch with liquid to make a slurry. Slowly whisk the slurry into the gravy and cook until desired thickness is achieved.
-
Pale Gravy: If your gravy lacks color, cook the roux for longer until it reaches a deep golden or brown color. This will provide a richer hue to your gravy.
How to fix lumpy or runny gravy
If your gravy turns out lumpy, don’t worry! By whisking vigorously or using an immersion blender, you can easily smooth out the lumps and achieve a velvety texture.
If your gravy is too runny, don’t panic! Mix equal parts flour or cornstarch with liquid to create a slurry. Gradually whisk the slurry into the gravy, allowing it to cook and thicken. Continue adding the slurry until you reach the desired thickness.
Rescuing gravy from being too salty
Accidentally adding too much salt to your gravy can be a common mistake. If your gravy turns out too salty, here’s how you can rescue it:
-
Dilute the gravy: Prepare a second batch of unsalted gravy or broth. Gradually whisk it into the salty gravy to dilute the saltiness.
-
Add a starch: Mixing mashed potatoes or cooked rice into the salty gravy can help absorb the excess salt and balance out the flavors.
-
Sweeten it up: Counteract the saltiness by adding a touch of sweetness, such as a pinch of sugar or a splash of apple cider or honey. This will help balance the overall taste.
By implementing these troubleshooting tips, you’ll be able to rescue your gravy from common pitfalls and salvage a delicious final product.
Storing and Reheating Gravy
Proper storage techniques for leftover gravy
If you have leftover gravy, it’s essential to store it correctly to maintain its flavor and quality. Follow these storage techniques:
-
Refrigeration: Transfer the cooled gravy into an airtight container and store it in the refrigerator. It can typically be refrigerated for up to 3-4 days.
-
Freezing: To extend the storage life, gravy can be frozen. Allow the gravy to cool completely, then transfer it into a freezer-safe container or freezer bag. It can be frozen for up to 3 months.
The best way to reheat your gravy
To reheat refrigerated or frozen gravy, follow these guidelines:
-
Refrigerated gravy: Gently warm the gravy in a saucepan over low heat, stirring occasionally until thoroughly heated. Be cautious not to overheat, as this can cause the gravy to break.
-
Frozen gravy: Thaw the frozen gravy overnight in the refrigerator. Once thawed, reheat the gravy following the same guidelines as refrigerated gravy.
Remember to stir the gravy occasionally while reheating to prevent scorching on the bottom. If the gravy appears too thick, you can add a small amount of broth or water to achieve the desired consistency.
Avoiding food safety risks
When storing and reheating gravy, it’s important to be mindful of food safety risks:
-
Proper cooling: Cool the freshly cooked gravy to room temperature before refrigerating or freezing to prevent the growth of harmful bacteria.
-
Timely consumption: Consume refrigerated gravy within 3-4 days or freeze it promptly for long-term storage.
-
Thorough reheating: Ensure that the gravy is heated to an internal temperature of 165°F (74°C) to kill any bacteria that may have grown during storage.
By following proper storage and reheating techniques, you can enjoy delicious and safe gravy for future meals.
In conclusion, mastering the art of making the perfect gravy is a skill that every home cook should have in their repertoire. By selecting the right pan, utilizing drippings and fond, creating a flawless roux, gradually incorporating liquid, managing heat and consistency, and skillfully seasoning, straining, and serving your gravy, you’ll be able to achieve gravy excellence. Additionally, exploring different gravy variations, troubleshooting common problems, and properly storing and reheating your gravy will ensure that you have a wide range of delicious options at your fingertips. So, next time you whip up a batch of gravy, remember these tips and techniques to elevate your culinary creations from pan to plate. Happy gravy-making!

