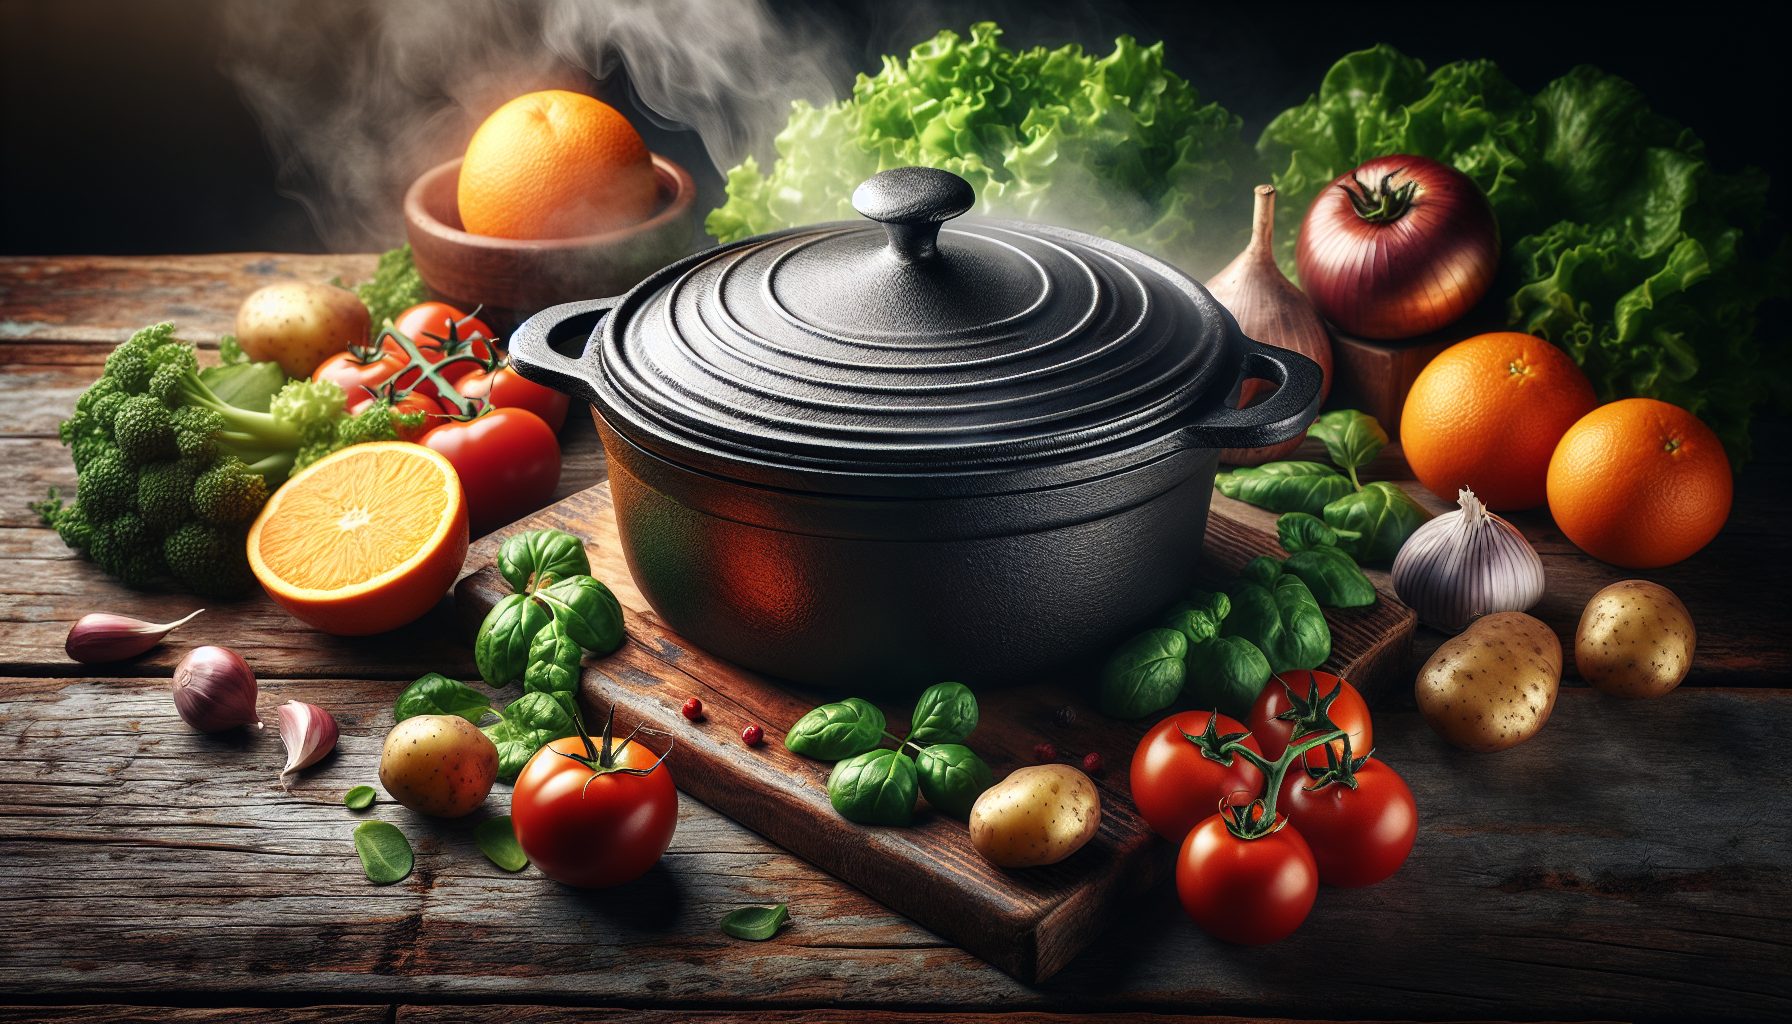
If you’re on a quest to elevate your culinary skills, then look no further than the art of Dutch oven cooking. This traditional cooking method has been around for centuries and continues to captivate food enthusiasts with its ability to create hearty and tasty dishes. Whether you’re simmering a savory stew, braising tender meats, or baking a crusty loaf of bread, the Dutch oven is your trusty companion in the kitchen. In this guide, Tastepan brings you expert tips and techniques to help you unlock the full potential of this versatile cookware, allowing you to create delicious meals that warm both the body and the soul. Let’s embark on this flavorful journey together!

Choosing the Right Dutch Oven
When it comes to choosing the right Dutch oven, there are a few important factors to consider. The first is the material. Dutch ovens are typically made from either cast iron or enameled cast iron. Cast iron is known for its excellent heat retention and even heat distribution, making it a great choice for slow cooking. On the other hand, enameled cast iron offers the additional benefit of a nonstick surface, making it easier to clean.
Next, you’ll want to consider the size of the Dutch oven. The most common sizes range from 4 to 7 quarts. If you’re cooking for a smaller family or just yourself, a 4 or 5-quart Dutch oven should be sufficient. However, if you regularly cook for larger groups or want to have leftovers, a 6 or 7-quart Dutch oven may be a better option.
Lastly, the lid is an important aspect to consider. Dutch oven lids typically have a tight-fitting design, which helps to trap moisture and create a moist cooking environment. Some Dutch ovens also come with a self-basting lid, which helps to circulate moisture and enhance the flavors of your dish.
Preparing the Dutch Oven
Before you start cooking with your Dutch oven, it’s important to properly season it. Seasoning creates a nonstick coating and helps to prevent rust. To season your Dutch oven, start by thoroughly cleaning it with hot soapy water and a sponge. Once clean, dry it completely and then apply a thin layer of oil to the interior and exterior surfaces. Place the Dutch oven in the oven preheated to 350°F (175°C) for about an hour. After an hour, remove the Dutch oven from the oven and let it cool. Your Dutch oven is now ready to use.
Cleaning your Dutch oven is also an essential part of maintaining its quality. After each use, make sure to let the Dutch oven cool completely before cleaning. Use warm water and a non-abrasive sponge or brush to gently remove any food residue. Avoid using soap, as it can strip away the seasoning. If there are stubborn stains, you can use a mixture of salt and water to create a paste and gently scrub the stains away. Once cleaned, thoroughly dry the Dutch oven to prevent any moisture from causing rust.

Cooking Techniques
With your Dutch oven ready to go, it’s time to explore the various cooking techniques you can use. The Dutch oven is incredibly versatile and can be used for braising, roasting, simmering, and even baking.
Braising is a cooking technique that involves browning the food in a small amount of fat and then cooking it slowly in a liquid. The Dutch oven’s ability to distribute heat evenly makes it perfect for braising. You can use this technique for dishes like pot roasts, short ribs, and stews.
Roasting in a Dutch oven involves cooking food, such as chicken or vegetables, uncovered at a high temperature in the oven. The Dutch oven traps in moisture, resulting in tender and flavorful dishes. Roasted meats and vegetables are perfect for a delicious and hearty meal.
Simmering is another great technique for Dutch oven cooking. It involves cooking food in a liquid, such as a soup or a chili, at a low temperature for a long period of time. The Dutch oven’s thick walls and tight-fitting lid help to retain moisture and concentrate flavors.
Baking in a Dutch oven is a wonderful way to create homemade bread and desserts. The Dutch oven’s cast iron construction helps to distribute heat evenly, resulting in a perfectly baked loaf of bread or a moist and flavorful cobbler.
Recipes
Now that you know the different cooking techniques, it’s time to explore some delicious recipes that you can make with your Dutch oven.
Classic Pot Roast
A classic pot roast is a crowd-pleasing dish that is perfect for a cozy family dinner. Start by browning a chuck roast in the Dutch oven with some onions and garlic. Then, add in beef broth, carrots, potatoes, and your favorite herbs and spices. Cover the Dutch oven and let it cook in the oven for a few hours until the meat is tender and the flavors have melded together.
Dutch Oven Bread
There’s nothing quite like the smell of freshly baked bread, and making it in a Dutch oven is a game-changer. Combine flour, water, yeast, and salt to make a simple bread dough. Let it rise, then shape it into a loaf and place it in a preheated Dutch oven. Cover the Dutch oven and bake for about 30 minutes. Remove the lid and continue baking for another 15-20 minutes, or until the bread is golden brown. You’ll have a crusty, bakery-worthy loaf of bread in no time.
Beef Stew
Beef stew is a comforting dish that is perfect for chilly evenings. Start by browning stew meat in the Dutch oven with some olive oil. Then, add in onions, carrots, potatoes, beef broth, and your favorite herbs and spices. Cover the Dutch oven and let it simmer on the stovetop or in the oven until the meat is fork-tender and the flavors have melded together.
Chicken and Dumplings
Chicken and dumplings is a classic Southern dish that is made even better in a Dutch oven. Start by browning chicken thighs in the Dutch oven with some butter. Then, add in onions, celery, carrots, chicken broth, and your favorite herbs and spices. Cover the Dutch oven and let it simmer until the chicken is cooked through and the flavors have melded together. Add dumplings made from flour, baking powder, salt, and milk to the pot, and let them cook until they are light and fluffy.
Dutch Oven Peach Cobbler
For a delicious dessert, try making a Dutch oven peach cobbler. Combine fresh or canned peaches with sugar, flour, cinnamon, and a squeeze of lemon juice in the Dutch oven. In a separate bowl, mix together flour, sugar, baking powder, salt, butter, and milk to make a biscuit topping. Drop spoonfuls of the dough onto the peaches in the Dutch oven and then cover the oven. Bake until the cobbler is golden brown and bubbling. Serve with a scoop of vanilla ice cream for the perfect sweet treat.

Tips and Tricks
Here are some tips and tricks to help you make the most out of your Dutch oven cooking experience:
Use a Trivet
When using your Dutch oven on a stovetop or oven, it’s a good idea to place a trivet underneath it to protect your surfaces from the heat. A trivet can be a simple metal or silicone pad that provides insulation and prevents any damage to your countertops or tables.
Layer Ingredients
When cooking in a Dutch oven, it’s important to layer your ingredients properly. Start with your protein at the bottom, followed by any aromatics or vegetables, and then add your liquid. This ensures that the flavors meld together beautifully and your dish cooks evenly.
Don’t Peek
Resist the temptation to lift the lid and check on your dish too often. Each time you open the lid, you release heat and moisture, which can affect the cooking time and result in a less flavorful dish. Trust the process and let your Dutch oven work its magic.
Use the Lid as a Griddle
If you’re in need of a griddle for pancakes or grilled cheese sandwiches, you can flip the Dutch oven lid and use it as a flat surface. Simply heat the lid on the stovetop and cook your food directly on it. This versatile feature makes the Dutch oven even more valuable in the kitchen.
Utilize the Oven’s Heat Retention
One of the greatest benefits of a Dutch oven is its excellent heat retention. Take advantage of this by turning off the heat a few minutes before your dish is fully cooked. The residual heat in the Dutch oven will continue to cook the food, saving energy and ensuring that your dish is perfectly cooked.
Cleaning and Maintenance
Proper cleaning and maintenance of your Dutch oven will ensure that it lasts for many years to come. To remove stubborn stains, create a paste with salt and water and gently scrub the stained area with a non-abrasive brush or sponge. For regular cleaning, use warm water and a non-abrasive sponge or brush to gently remove any food residue. Avoid using soap, as it can strip away the seasoning. Once clean, thoroughly dry the Dutch oven to prevent any moisture from causing rust.
When storing your Dutch oven, make sure it is completely dry to avoid any rusting. If you have an enameled cast iron Dutch oven, you can stack other pots or pans on top of it, as it is less prone to scratching. However, if you have a traditional cast iron Dutch oven, it’s best to store it separately to prevent any damage.
Safety Precautions
When using a Dutch oven, it’s important to take some safety precautions to ensure your well-being and prevent any accidents.
Avoid Placing on Direct Heat
Never place your Dutch oven directly on a burner or open flame. The high heat can cause the enamel to crack or the cast iron to warp. Always use a trivet or other heat-resistant surface to protect your Dutch oven and your cooking surface.
Use Oven Mitts
The Dutch oven and its lid can get extremely hot during the cooking process. Always use oven mitts or pot holders when handling the Dutch oven to prevent burns or other injuries.
Handle Hot Lids with Care
The lid of the Dutch oven can become very hot, especially when cooking on the stovetop or in the oven for an extended period of time. Be sure to handle the lid with oven mitts or pot holders to prevent burns.
Watch out for Steam
When removing the lid from your Dutch oven, be cautious of the steam that may escape. Steam can cause burns, so it’s important to keep your face and hands away from the opening when lifting the lid.
Dutch Oven Accessories
To enhance your Dutch oven cooking experience, there are a few accessories that you may find useful:
Lid Lifter
A lid lifter is a handy tool that allows you to safely lift and handle the hot lid of your Dutch oven. It eliminates the need to use oven mitts or pot holders, making it much easier to check on your dish while it’s cooking.
Baking Rack
A baking rack is a great accessory for baking bread or other delicate dishes in your Dutch oven. It allows air to circulate around the food, resulting in a more even bake.
Dutch Oven Gloves
Dutch oven gloves are designed to provide maximum heat protection while allowing for more dexterity and grip compared to traditional oven mitts. They are perfect for handling hot Dutch oven lids and moving the pot around.
Cleaning Brush
A cleaning brush specifically designed for Dutch ovens can help to efficiently remove any food residue or stubborn stains. Look for one with soft bristles that won’t scratch the surface of your Dutch oven.
Benefits of Dutch Oven Cooking
There are many benefits to cooking with a Dutch oven that make it an excellent addition to your kitchen arsenal.
Even Heat Distribution
One of the biggest advantages of a Dutch oven is its ability to distribute heat evenly. The cast iron or enameled cast iron construction ensures that heat is distributed uniformly, resulting in perfectly cooked meals.
Versatility
The Dutch oven is incredibly versatile and can be used for a wide range of cooking techniques. From braising and roasting to simmering and baking, there are endless possibilities for creating delicious dishes.
Enhanced Flavors
The Dutch oven’s tight-fitting lid helps to trap moisture and creates a moist cooking environment. This allows the flavors of your dish to develop and intensify, resulting in hearty and flavorful meals.
Energy Efficiency
Due to its excellent heat retention properties, the Dutch oven is highly energy efficient. Once the desired cooking temperature is reached, you can reduce the heat or turn it off completely, as the Dutch oven will continue to cook the food using its retained heat.
Conclusion
Cooking with a Dutch oven is an art that allows you to create hearty and tasty meals with ease. By choosing the right Dutch oven, seasoning it properly, and understanding different cooking techniques, you’ll be well on your way to mastering the art of Dutch oven cooking. With a range of delicious recipes to try, helpful tips and tricks, and the proper care and maintenance, you’ll be enjoying mouthwatering Dutch oven meals in no time. So embrace the versatility and flavor-enhancing qualities of the Dutch oven, experiment with recipes, and savor the delicious results. Happy cooking!

