Step into the world of gluten-free bread making and unlock the secrets to creating delicious homemade loaves that are both nutritious and flavorful. At Tastepan, we understand the importance of prioritizing your well-being without compromising on taste. With our expert advice, dietary tips, and collection of wholesome meal ideas, you can effortlessly nourish your body and indulge in the art of gluten-free bread making. Get ready to embark on a culinary journey filled with mouthwatering recipes that will satisfy even the most discerning bread lover.

Choosing the Right Gluten-Free Flour
When it comes to making gluten-free bread, one of the most important decisions you’ll make is choosing the right flour. Gluten-free flours are made from a variety of grains, nuts, and seeds, each with its own unique properties and flavor. Understanding these differences will help you select the best flour for your bread recipes.
Understanding Gluten-Free Flours
Gluten is a protein found in wheat, barley, and rye that gives bread its structure and elasticity. Gluten-free flours, on the other hand, do not contain this protein, which can make it challenging to achieve the same texture and rise in gluten-free bread. It’s important to choose gluten-free flours that have similar properties to gluten-containing flours to ensure the best results.
Popular Gluten-Free Flours
There are several popular gluten-free flours you can choose from, each with its own unique characteristics. Here are a few of the most common ones:
-
Rice Flour: Rice flour is a versatile gluten-free flour that can be used in a variety of bread recipes. It has a neutral flavor and a fine texture, which helps create a smooth and light bread.
-
Almond Flour: Made from ground almonds, almond flour is a popular choice for gluten-free baking. It adds a nutty flavor and a moist texture to bread, making it a great option for sweet bread recipes.
-
Quinoa Flour: Quinoa flour is made from ground quinoa seeds and is known for its high protein content. It has a slightly nutty flavor and a light texture, making it a good choice for both savory and sweet bread recipes.
Mixing Different Flours for Better Results
To achieve the best texture and flavor in your gluten-free bread, you can try mixing different gluten-free flours together. This can help balance out the properties of each flour and create a more well-rounded loaf. Experiment with different combinations to find the blend that works best for you. You can also consider adding small amounts of gluten-free starches, such as tapioca starch or potato starch, to improve the texture and rise of your bread.
Yeast and Leavening Agents
Yeast and leavening agents play a crucial role in the texture and structure of gluten-free bread. However, due to the absence of gluten, it can be challenging to achieve the same rise and lightness in gluten-free bread as in traditional bread. Here are some tips to help you navigate the world of yeast and leavening agents in gluten-free bread making.
Types of Yeast for Gluten-Free Bread
When it comes to choosing yeast for gluten-free bread, there are a few options to consider. Active dry yeast, instant yeast, and rapid-rise yeast are all suitable choices for gluten-free baking. However, it’s important to note that gluten-free bread may require longer rising times compared to traditional bread. You may need to let the dough rise for an extended period to allow the yeast to fully activate and create a light and airy texture.
Using Leavening Agents in Gluten-Free Bread
In addition to yeast, there are other leavening agents that can be used in gluten-free bread to help achieve a good rise. Baking powder and baking soda are commonly used in gluten-free recipes to add extra lift and improve the texture of the bread. However, it’s important to note that these leavening agents can also affect the flavor of the bread, so be sure to use them in the appropriate proportions to avoid an unpleasant aftertaste.
Tips for Achieving the Right Texture
To improve the texture of your gluten-free bread, you can try adding a small amount of xanthan gum or guar gum to the dough. These binders can help mimic the elasticity and structure that gluten provides, resulting in a lighter and less crumbly loaf. However, it’s important to use these gums sparingly, as too much can result in a gummy texture. Start with a small amount and adjust as needed based on your personal preferences.

The Role of Binders and Starches
Binders and starches are essential ingredients in gluten-free bread baking, as they help hold the dough together and create a cohesive texture. Without gluten, it can be challenging to achieve the same elasticity and structure in gluten-free bread. Here’s a closer look at the importance of binders and common options for gluten-free baking.
Importance of Binders in Gluten-Free Bread
When gluten is absent in bread dough, it’s essential to rely on binders to create a similar structure. Binders are ingredients that help hold the dough together and prevent it from crumbling apart. They provide the necessary elasticity and help trap air bubbles during the rising process, resulting in a lighter and less dense bread.
Common Binders Used in Gluten-Free Baking
There are several common binders used in gluten-free baking, including xanthan gum, guar gum, and psyllium husk. Xanthan gum is a popular choice as it helps mimic the elasticity of gluten and improves the texture of the bread. Guar gum and psyllium husk also work well as binders and can add a slight thickening effect to the dough.
Utilizing Starches for Improved Texture
Starches, such as cornstarch, potato starch, and tapioca starch, are often used in gluten-free bread recipes to improve the overall texture. These starches help absorb moisture and create a lighter and less crumbly bread. They also contribute to a better rise and allow the bread to hold its shape more effectively. You can experiment with different starches to find the one that works best for your bread recipe.
Enhancing Flavor and Texture with Add-ins
While gluten-free bread may require some adjustments in terms of texture and structure, there’s no reason why it can’t be just as flavorful and delicious as traditional bread. By incorporating various add-ins, you can enhance both the taste and texture of your gluten-free creations.
Adding Nuts and Seeds for Crunch
One way to add texture and flavor to your gluten-free bread is by incorporating nuts and seeds. Chopped almonds, walnuts, or sunflower seeds can provide a satisfying crunch and a nutty flavor to your loaf. Simply mix them into the dough before baking, or sprinkle them on top for an extra visual appeal.
Incorporating Herbs and Spices
Herbs and spices are another excellent way to elevate the flavor of your gluten-free bread. Try adding dried herbs like rosemary, thyme, or basil to your dough for a savory twist. For a touch of sweetness, consider incorporating cinnamon, nutmeg, or cardamom. Experiment with different combinations to discover unique flavor profiles that suit your taste preferences.
Experimenting with Different Flavors
Don’t be afraid to get creative with the flavors in your gluten-free bread. You can add ingredients like grated cheese, diced olives, or roasted garlic for a savory loaf. For a sweeter option, try incorporating dried fruits, chocolate chips, or shredded coconut. The possibilities are endless, so let your imagination run wild and enjoy the exciting flavors that gluten-free bread can offer.

Mastering the Mixing Process
The mixing process is an essential step in gluten-free bread making, as it helps develop the dough’s structure and texture. However, due to the absence of gluten, the mixing techniques used for gluten-free bread may differ from traditional bread making. Here’s what you need to know to master the mixing process for gluten-free bread.
Understanding the Different Mixing Methods
There are a few different mixing methods commonly used in gluten-free bread making. The most basic method involves combining the dry ingredients in one bowl and the wet ingredients in another. Then, the wet ingredients are gradually added to the dry ingredients while mixing until a smooth dough forms. Another method involves creating a “sponge” by combining the yeast, a portion of the flour, and liquid, allowing it to ferment before adding the remaining ingredients.
Kneading Techniques for Gluten-Free Dough
Kneading gluten-free dough is a different process compared to traditional bread kneading. Since gluten is absent, there’s no need to vigorously knead the dough to develop the gluten strands. Instead, focus on gently folding and pressing the dough to help distribute the ingredients and remove any air bubbles. Over-kneading can lead to a dense and tough texture, so be mindful of the mixing time.
Avoiding Overmixing
When it comes to gluten-free bread, it’s crucial to avoid overmixing the dough. Overmixing can lead to a denser loaf and prevent the rise you desire. Mix the dough just until the ingredients are incorporated and stop as soon as you achieve a smooth and cohesive texture. Remember, gluten-free dough tends to be more delicate, so handle it with care to ensure the best results.
Proofing and Rising
The process of proofing and rising plays a vital role in the development of gluten-free bread. While gluten-free dough may behave differently compared to traditional dough, there are still some key tips to follow to achieve the perfect rise and texture.
Tips for Proper Dough Proofing
Proofing gluten-free dough may require some adjustments compared to traditional dough. Since gluten-free bread typically has a softer consistency, it may not rise as much during the proofing process. To help the dough rise, you can try using a warm and humid environment, such as an oven with a bowl of hot water, to create a favorable atmosphere for yeast activity. Additionally, allowing the dough to proof for a longer period can help achieve a better rise and a lighter texture.
Understanding Gluten-Free Dough’s Rising Behavior
Gluten-free dough may have a slightly different rising behavior compared to traditional dough. Due to the absence of gluten, it may not rise as dramatically or hold its shape as well. However, with the right ingredients and techniques, you can still achieve a satisfactory rise. Pay attention to the dough’s appearance and volume during the rising process, and adjust the rising time as needed to ensure the best results.
Alternative Rising Methods
If you’re having trouble getting your gluten-free dough to rise, there are alternative rising methods you can try. For example, some recipes suggest incorporating extra leavening agents, such as baking powder or baking soda, to provide an additional boost. Another method is to let the dough rise in a smaller pan or mold to help support its structure. Experiment with different techniques to find what works best for your specific recipe.
Baking Techniques for Gluten-Free Bread
The baking stage is crucial for achieving a delicious and well-textured gluten-free loaf. Proper oven settings, baking time, and temperature adjustments can make all the difference in the final result. Here’s what you need to know about baking gluten-free bread.
Optimal Oven Settings for Gluten-Free Bread
To achieve the best results when baking gluten-free bread, it’s important to set your oven to the right temperature. In general, a higher baking temperature of around 375 to 400 degrees Fahrenheit (190 to 200 degrees Celsius) is recommended for gluten-free bread. The higher temperature helps promote a better rise and creates a crisp and golden crust.
Baking Time and Temperature Adjustments
Baking time and temperature may need to be adjusted for gluten-free bread due to its unique properties. While traditional bread recipes often have a specific baking time and temperature, gluten-free bread may require a longer baking time and a slightly lower temperature. This allows the bread to fully cook through and develop a crisp crust without burning the edges. Keep a close eye on your bread as it bakes and make adjustments as needed based on its appearance and internal temperature.
Using Steam for a Crispy Crust
To achieve a crispy crust on your gluten-free bread, you can try using steam during the baking process. Steam helps create moisture in the oven, which promotes a desirable crust texture. You can achieve this by placing a baking dish filled with water on the bottom rack of the oven or spraying water into the oven at the beginning of the baking process. Be cautious when working with steam, as it can cause burns. Follow the appropriate safety measures and handle the steam with care.
Troubleshooting Common Issues
Even with the best techniques and ingredients, gluten-free bread making can sometimes pose challenges. Here are some common issues that may arise and how to troubleshoot them.
Dealing with Dry and Crumbly Bread
If your gluten-free bread turns out dry and crumbly, it may be due to a lack of moisture or insufficient binders. To address this issue, you can try increasing the liquid content in your dough or adding additional binders, such as xanthan gum or guar gum. Additionally, using moist ingredients like yogurt, applesauce, or mashed bananas can help add moisture to the bread.
Fixing Bread with Dense Texture
A dense texture in gluten-free bread can be caused by various factors, such as overmixing, insufficient leavening agents, or using the wrong combination of flours. To alleviate this problem, make sure to mix the dough just until the ingredients are incorporated and avoid overkneading. Check that you are using enough leavening agents, such as yeast, baking powder, or baking soda. Experiment with different flour combinations to achieve a lighter texture.
Preventing Excessive Crust Browning
If the crust of your gluten-free bread is browning too quickly or becoming overly dark, you can take a few measures to prevent this. One option is to cover the bread with aluminum foil or a baking sheet halfway through the baking process to create a barrier between the heat source and the bread. Another method is to reduce the oven temperature slightly or decrease the baking time. These techniques can help prevent excessive crust browning while allowing the bread to cook through.
Storage and Shelf Life
Proper storage is essential to maintain the freshness and quality of your gluten-free bread. Here are some best practices to ensure your bread stays delicious for as long as possible.
Best Practices for Storing Gluten-Free Bread
To keep your gluten-free bread fresh, it’s important to store it in an airtight container or a resealable plastic bag. This helps prevent moisture loss and keeps the bread from becoming dry and stale. You can also consider placing a slice of fresh bread or a damp paper towel in the container to help maintain moisture.
Extending Shelf Life with Freezing
If you have leftover gluten-free bread or want to make a bulk batch, freezing is a great option to extend its shelf life. Wrap individual slices or the entire loaf in plastic wrap or aluminum foil, then place them in a freezer-safe bag or container. When you’re ready to enjoy the bread, simply thaw it at room temperature or in the toaster, if desired. Frozen gluten-free bread can be stored for up to three months.
Reviving Stale Bread
If your gluten-free bread has become stale, don’t worry; there are ways to revive it. Lightly moisten the bread with water or milk, then place it in a preheated oven at a low temperature for a few minutes. This will help restore some moisture to the bread and make it taste fresh again. Alternatively, you can also toast the bread to give it a crispier texture and enhance the flavor.
Specialty Gluten-Free Breads
Gluten-free bread doesn’t have to be limited to basic loaves. There are many specialty bread options you can explore to add variety and excitement to your gluten-free baking repertoire.
Exploring Artisan Gluten-Free Breads
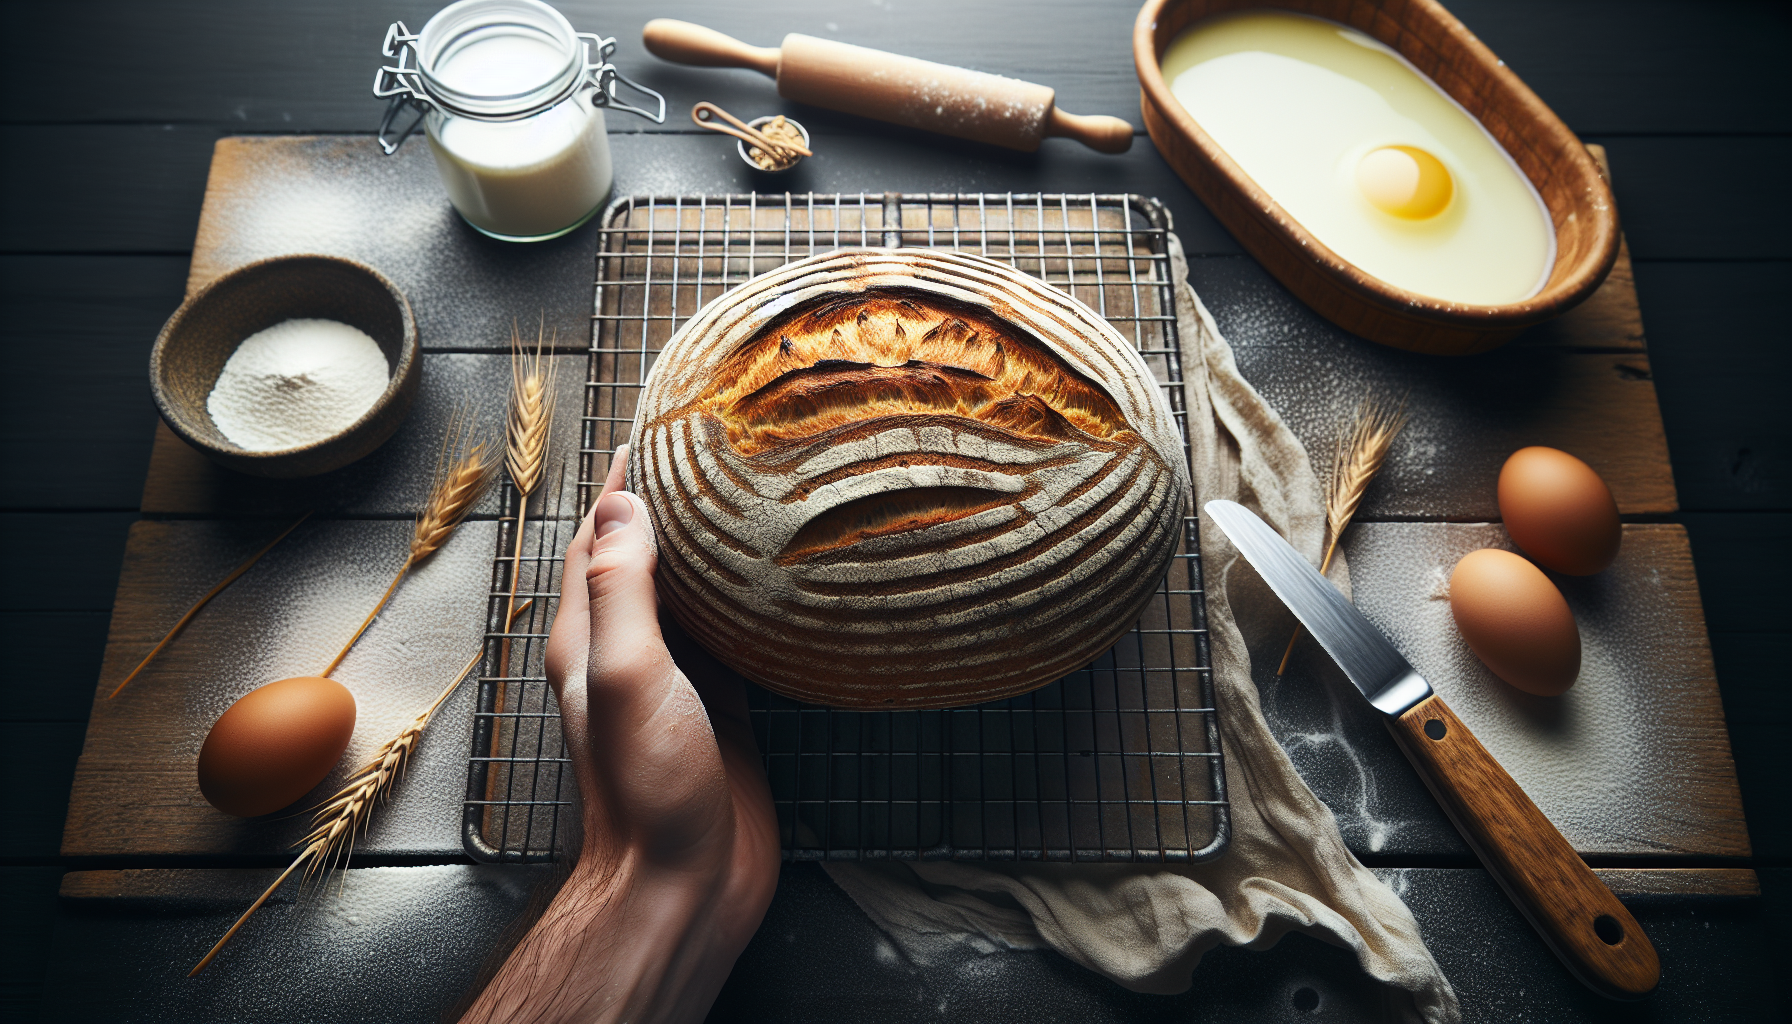
Artisan breads are known for their unique flavors and textures, and they can be adapted to suit a gluten-free diet. From rustic boules to crusty baguettes, there’s a whole world of artisan gluten-free bread waiting to be explored. Experiment with different flours, add-ins, and techniques to create your own artisan creations at home.
Making Gluten-Free Sourdough
Sourdough bread is beloved for its tangy flavor and chewy texture. While traditional sourdough relies on gluten for its characteristic structure, you can still achieve a similar result with gluten-free sourdough. By utilizing a gluten-free sourdough starter and carefully selecting your flours and fermentation times, you can create a delicious and authentic gluten-free sourdough loaf.
Creating French Baguettes without Gluten
French baguettes are iconic for their crispy crust and soft interior. While it may seem challenging to recreate this texture without gluten, it’s certainly possible. Through the careful selection of flours, the addition of binders and starches, and mastering the shaping and baking process, you can create gluten-free baguettes that rival their traditional counterparts.
In conclusion, choosing the right gluten-free flour, understanding the role of yeast and leavening agents, utilizing binders and starches, enhancing flavor and texture with add-ins, mastering the mixing process, proofing and rising, employing proper baking techniques, troubleshooting common issues, and storing gluten-free bread properly are all essential elements in becoming a successful gluten-free bread baker. With knowledge, practice, and a little bit of creativity, you can enjoy delicious, homemade gluten-free bread that is sure to satisfy even the most discerning palates. Happy baking!

